Field Fuel Testing Kits – Water & Microbial Detection
Our self test field testing kits can be used for the detection of suspended and separated free water and of Microbial Growth in Diesel and Bio-diesels.
For Microbial Detection
1. Add provided 2ml liquid vile into 10ml tube
2. Full 10 ml tube with fuel sample
3. Tighten cap of 10ml vile and shake well
4. Wait 48 – 72 hours. Store the bottle at room temperature
Interpreting the results
(75°- 85° for best results) for 48 -72 hours.
PASS: No changes in your sample
FAIL: Color changes in microbial feeding liquid, or visible mold/microbial growth. There may not be a change in color in your sample, but mold or microbial will still be visible if it’s positive.
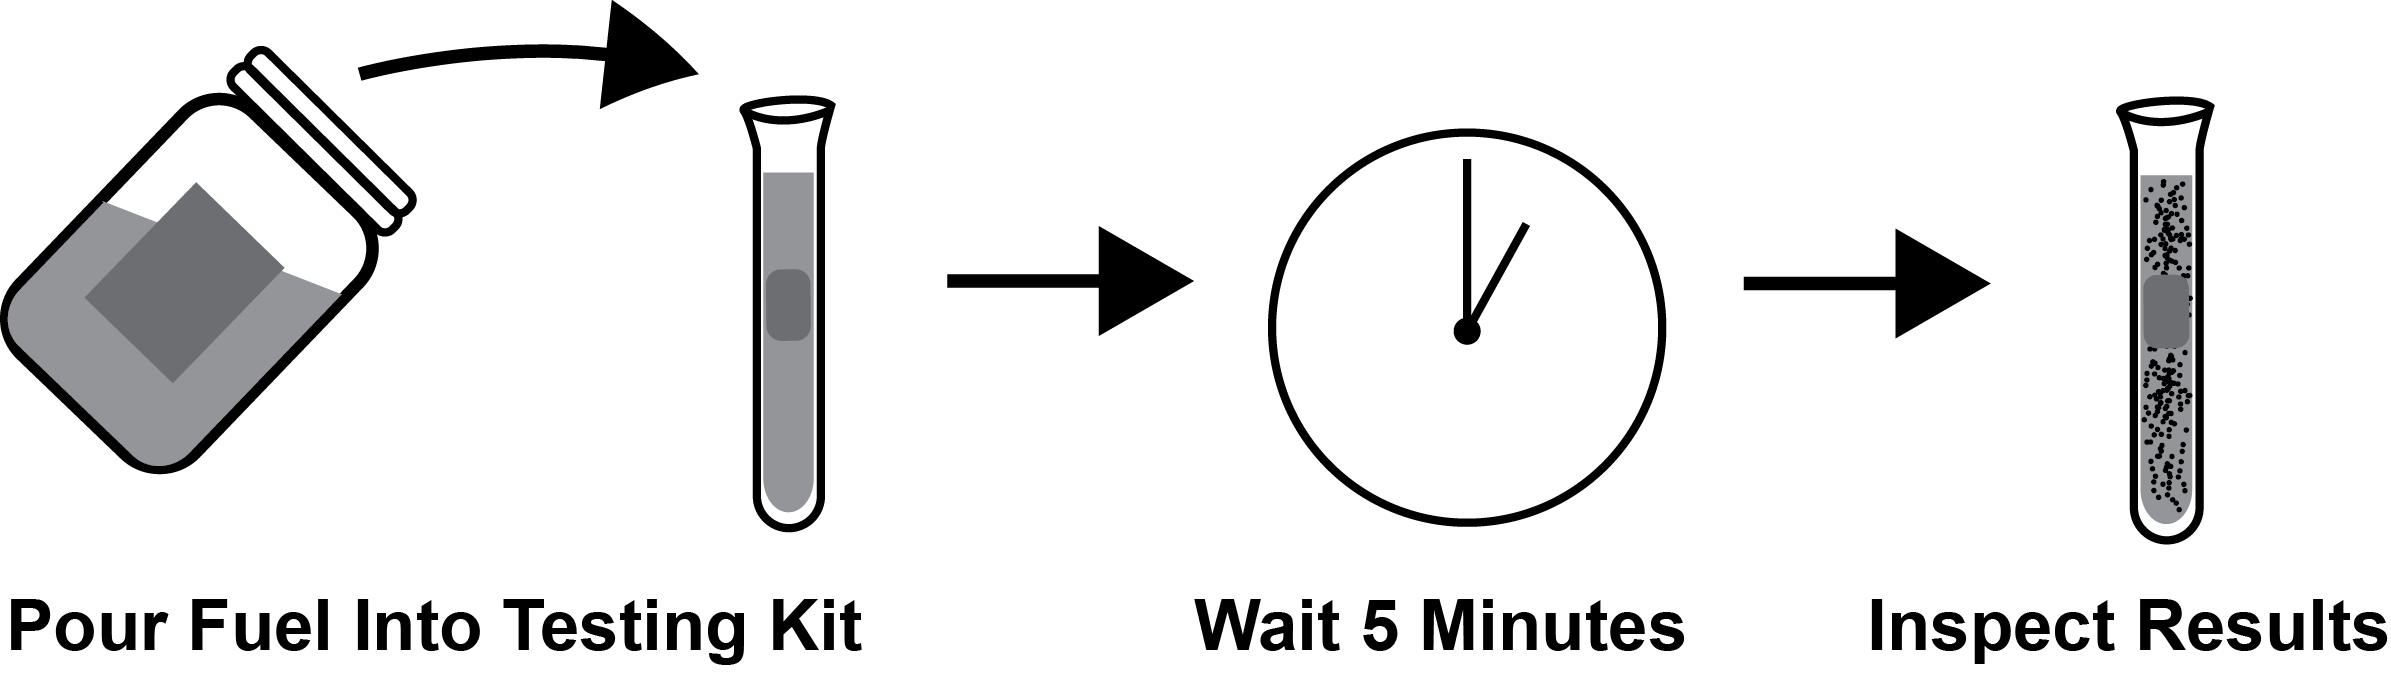
For Water Detection:
1. Fill 10 ml tube with fuel sample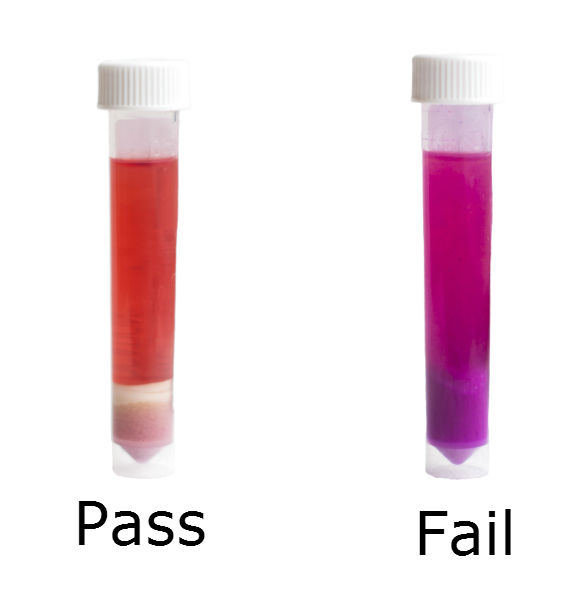
2. Tighten cap of 10ml vile and shake well
3. Wait 5 – 10 minutes be. For best results peroforn a visual inspection between the 5-10 minute mark
Interpreting the results
You will see particles from the Medium settling on the bottom of the bottle.
PASS: Particles are white.
FAIL: Particles turn pink (dark purple in dyed fuel). This may indicate that your fuel contains water exceeding 500ppm.

There are many test that cannot be done out in the field that require extensive analysis and equipment. We offer complete test packages for extensive water and microbial analysis and a full spectrum of test meeting ASTM standards
For Microbial Detection
For the detection of Microbial Growth in, Bio-diesel, Diesel, Fuel Blends, Jet Fuel, Heating Oil, and Kerosene.
Detect Water In Fuel
For the detection of suspended and separated free water in diesel, bio-diesel, bio-diesel blends, off-road fuel, jet fuel and kerosene.
- A bottle with a lid to put your sample in
- A container with a lid to seal your sample bottle
- An absorbent pad to wrap around the outer bottle in case of leakage
- A plastic, seal-able bag to contain all fuel
- A sample information form *must be filled out as completely as possible for tracking purposes*
- The box we ship the kit in can be used as the return shipping box
- Use a tool to pull your sample from the middle-bottom of the tank
- Put your sample directly in the clear bottle and seal the lid tightly
- Put the clear bottle into the blue outer bottle and seal the lid tightly
- Wrap the absorbent pad around the blue container
- Put the sample with the padding into the plastic bag and seal well
- Make sure the paperwork is filled out completely and put inside the shipping box
- Put the bag with your sample in the box and tape the box closed.
Have any questions? Give us a call at 800. 546.4451